Step 1 - Augment applications and services with user identification
E-Ident provides user identification services to customers through one interface. This guide is intended for developers working to augment their applications and services with user identification. The get started steps and the demo app are based on OpenID Connect as the identification protocol.
Topics found on this page:
Download the E-Ident demo app
The demo app is a standalone Java application that demonstrates how IN Groupe E-Ident service can be integrated into a typical application. Even though the demo app is written as a Java application, the E-Ident service is equally accessible using any other language or platform.
The demo app can be downloaded from here: eident-demo-app.zip
Install and run the app
To run E-Ident demo app you will need a demo app specific client id and a client secret code. The client id and the secret code can be received by using the Contact us form to IN Groupe support.
You may also receive a dedicated configured setup with dedicated client id and client secret code. The demo app will not run correctly towards a dedicated setup. To get a dedicated setup you must be a registered E-Ident customer. To become a customer, contact our sales department.
Once you have received the demo app client id and client secret code, follow the below steps to run the demo app:
Unzip the zip file (eident-demo-app.zip)
Navigate to target folder inside the unzipped folder i.e. <your_parent_folder>/eident-demo-app/target
Open command prompt in that folder
Run the below command:
Java 11 is required to run this demo app. Also note that the common setup of the E-Ident demo app uses encrypted ID Token (this is the default from end of October 2021).
java -jar eident-demo-app.jar <customer-identifier> <secret-code>The command will start a web server that can be accessed using the following URL (as displayed in the command prompt):
http://localhost:8080/eident
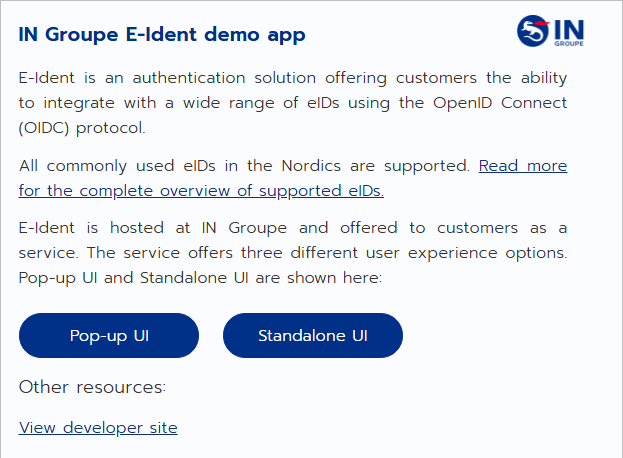
The browser should display the initial page that looks similar to the following screenshot:
Continue to Step 2.